Grade 2/3 Sculpture Construction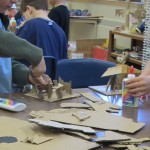
I am really likin’ this project. Definately a ‘do-again’.
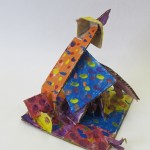
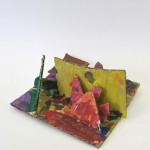
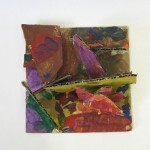
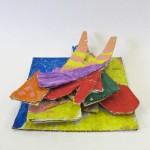
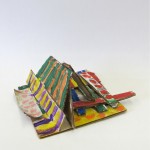
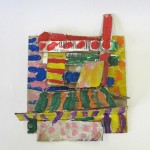
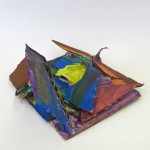
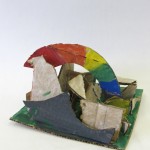
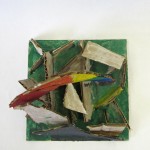
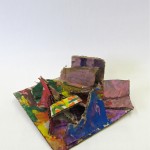
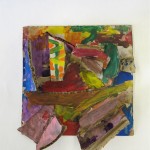
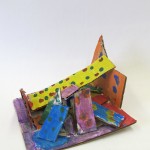
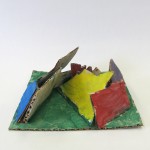
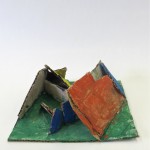
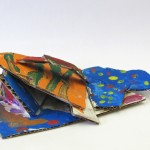
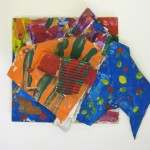
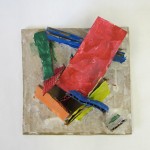
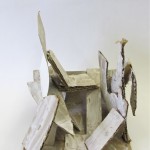
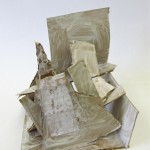
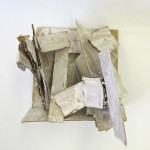
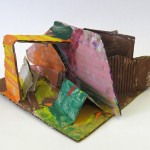
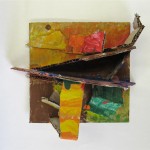
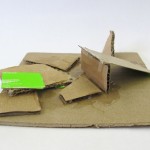
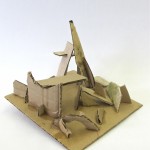
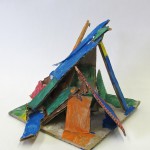
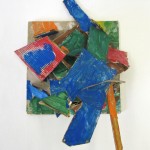
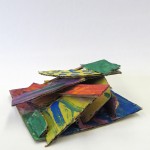
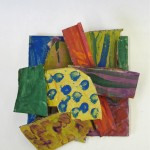
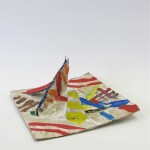
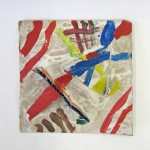
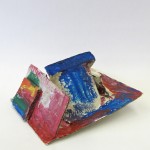
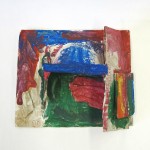
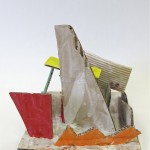
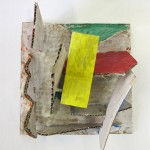
These are built as three dimensional pieces, but some of them look quite different and wonderful when photographed from above. This flattens the image, but I have included those as additional photographs in this gallery.
- Rachel
- Jac
- Jac II
- Jay
- Nick
- Nick II
- Eva
- Paige
- Paige II
- Nathan
- Nathan II
- Flo
- Mercedes
- Mercedes II
- Ella
- Ella II
- Sydney
- Sydney II
- Sydney III
- Ben
- Ben II
- Ben III?
- Caitlin
- Caitlin
- Matthew
- Matthew II
- Eric
- Eric II
- Johnny
- Johnny II
- Alison
- Alison II
I knew I had to try building one before attempting to teach this class! Would the glue hold quickly enough so the kids wouldn’t get frustrated with pieces of cardboard falling down? Could they build upon other pieces in a single class?
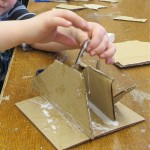
I got the idea for this project from one of my favourite blogs, There’s a Dragon in My Art Room (look for the link at the end of this). Phyl suggested using Elmer’s Glue-All, which dries faster and is stronger BUT, uh, we do not have that in OUR Art Room. Sooo, the kids had to practise their numbers and count to twenty while holding each piece they glued. For the most part, it worked! There were a few who got a little ambitious too fast, and didn’t count quite to twenty …
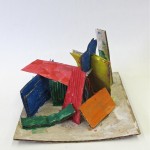
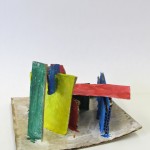
Class One: I spilled small pieces of corrugated cardboard in the center of their tables, cuttings from other class projects; they could also cut their own from other cardboard scroungings on hand. I demonstrated how they could attach the pieces by putting glue on the edges, intersecting with other pieces at different angles, and using what is in place to give stability. Once they started to see their sculptures forming, some of them really began to use their imaginations. “What it would be like to be really small and walk into the ‘hidey places’ they created and even climb through their sculptures?” Love that!
Class Two: I had them paint their sculptures all white, using the school paint on hand. This I would do differently next time. The school white just wasn’t strong enough to cover the brown of the cardboard, and the resulting colours just didn’t “pop” the way they could have. My suggestion? Invest in some cheap white house paint, make sure they have smocks on, and put newspaper down on the tables. Better.
PS: I also had them paint two diagonal lines corner to corner on the bottom of the base, to keep it from curling up. (You can see the ones where that got missed.) We used the hair dryers to speed the drying all over, then: colour!
I showed them that they could paint each of the cardboard pieces a different colour/pattern; they could extend that onto the base, or they could paint the base a different colour. I suggested that they try to keep the different cardboard planes/parts as different, and not to paint them all the same. Colour mixing was fine, and putting flat colours with patterns really work well. So, they had at it …
I am quite pleased with the results, and I think they were, too! We don’t have a display case for 3D work, so I hung them on the bulletin board in the hallway, using black netting to help fasten them. Wowsers!
Winter 2012 / Parliament Oak School
For more, check out www.plbrown.blogspot.ca

You must be logged in to post a comment.