Grade 6: Reworking Our Light Photographs
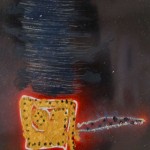
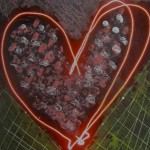
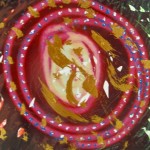
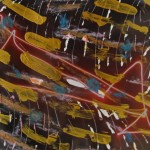
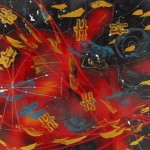
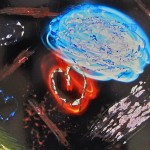
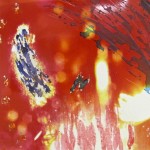
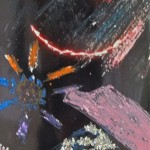
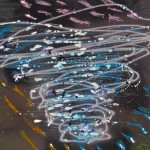
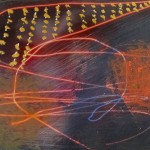
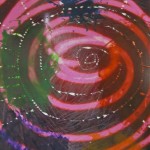
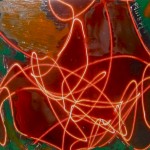
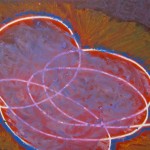
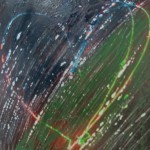
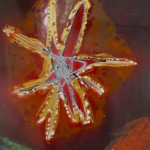
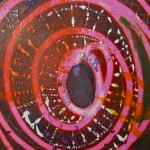
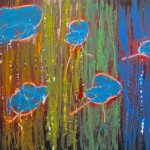
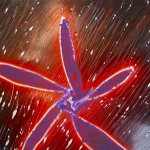
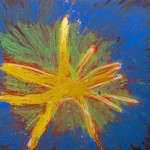
As promised, here are the results when we hand manipulated our photographs. Earlier, we had a photo session using coloured flashlights and a laser pointer on a black ground in a darkened room with my camera and the aperture open. The lines were the result of movement across the picture field: experimentation! It was a pretty fun day in the Art Room. Fyi, you can see the untouched results in my earlier post.
With photos in hand ( you have to use commercially produced photos, btw – apparently home printed ones, even on photo paper, just don’t cut it), and various tools of abrasion alongside, we began to work back into the images again (tortured them, really). Sandpaper, exacto knives, steel wool, scrubbies, saw blades, pin tools all worked to change the surface of the photograph. Colour was reintroduced using markers, pencil crayon, paint and oil pastel: Awesome Abstraction.
I think it helped that the pictures were in the abstract already. Each student could pick out two or three copies that they liked from our photo session – consequently, they were not so shy to ‘wreck’ them – different, perhaps, if they had been photos of themselves or their families and friends. However, once they had a chance to play with the method and saw their results, no problem. So I encouraged them to try this with some photos from home. Ones NOT in the – um – family album. Rather, pictures that might not be great photos as is, even blurry or poorly composed make good material … leaves room for some of the nonsense – I mean, fun – we were having.
What do you think?
Many thanks to my good friend Jane Andres for the ideas and the impetus for this project. Big up!
Parliament Oak / Winter 2013

You must be logged in to post a comment.