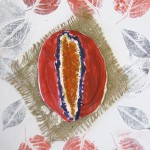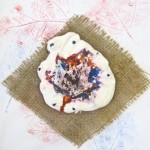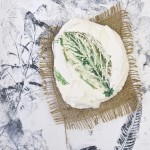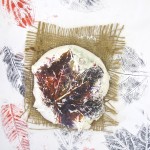
Grade 1/2: Painted & Cut Paper
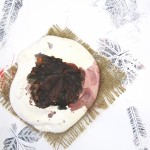
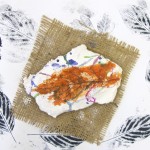
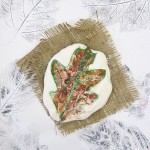
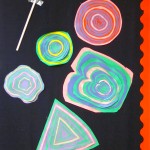
We have all kinds of painted sheets of paper in the ArtRoom these days. Just burnin’ a hole in my pocket …
Fall 2013 / Parliament Oak Elementary School
Grade 1/2: Painted & Cut Paper
We have all kinds of painted sheets of paper in the ArtRoom these days. Just burnin’ a hole in my pocket …
Fall 2013 / Parliament Oak Elementary School
Grade 1/2: Snowmen of Paper and Recycled Materials? You Bet.
This project has two parts: drawing and painting the background, and cutting and building the snowmen. We started with the background, so we could get them drying in the rack to be ready for the second class time. Using large pink paper and a white crayon, I had them draw quick snowflakes all over the page. Then they got busy with large brushes and washes of blue paint (with a few sprinkles thrown in the paint).
While these were drying, it was time for building their snowmen. With illustrations on the board, I had them cut out three white circles: large, medium, and small. Question for them – which one goes on the bottom?
This next part is the one they love. We opened up the free cupboard (all the stuff I drag in and other people leave in the Art Room for me): woot!
It’s the part I love, too. They get so excited with the stuff they pull out, and their imaginations are firing left and right as they ‘decorate’ their snowmen. White glue and enthusiasm were all that were needed to complete their snowmen.
The following class gave them time to finish their decorations, and glue the snowman onto their backgrounds. Done.
Winter 2014 / Parliament Oak Elementary School
Grade 4/5: Paper Mache Masks
This is small class, and they are game for new challenges. So, we decided to go with making masks – animal masks out of paper mache. Why not?
In fact, to tie in with their studies in environmental issues, they could choose an animal and then think of ways and reasons that animal might adapt to changes in their natural habitat. Their teacher assigned them some writing to document the changes, and I encouraged them to come up with a sketch to illustrate.
Now it was time to get messy. We began with aluminum foil. Partners were assigned to cover each other’s face, in turn. By pressing the foil down onto the face, and piercing the nostril holes with a Q-tip, we were able to make a rudimentary cast of their features. These were carefully filled with moistened newspaper, and the taped down to a square of corrugated cardboard. This would provide the base for the mask, making it one that would fit onto their own faces. Not exact, but enough to make it work loosely.
Before any paper mache – time to add extensions and other features to define their animal morphing. I encouraged them to get creative with that and to exaggerate the details. Larger than life!
When the paper mache dried, they went on to painting and/or attaching found objects. The interior of the masks were sanded for comfort, and holes drilled for the eyes and the headband straps. We used ribbed sewing elastic to hold the masks tight.
They were pleased with the results, and I think they did quite well …
Fall 2013 / Parliament Oak Elementary School
Grade 3/4: Playgrounds & Zoos
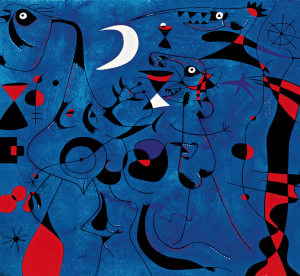
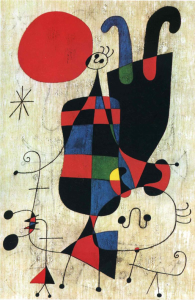
We started with looking at some images of the paintings of Joan Miro. One particular video featured his work accompanied by Spanish jazz music. The kids really seemed to respond to the bright colours and imaginative images. A few of them even recognized a few from souvenir items at home!
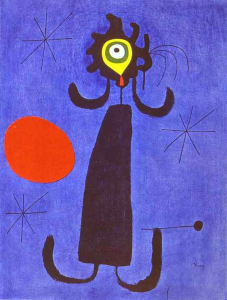
After that, they were itching to get to the Art Room to get started on their own artwork. To begin that phase, I made a suggestion for subject matter: what if all the animals were running loose at the zoo? Or … what if there were a bunch of school kids running around outside at recess? (You can draw your own parallels there) These ideas were to be drawn in Miro’s style, using some of the elements and symbols we observed.
Such as … flat, bright colours in the figures and shapes
black lines connecting different shapes
abstraction of the figures: like the exaggeration of an eye or torso, lines
a sense of humour! FUN
floating on a washy coloured background; no horizon line, NOT a scene
They started by drawing their animals/children in pencil, and then going over those lines with Sharpie marker. It was hard for some students to get away from drawing it as scene – they wanted to show the ground, and the sun in the corner. Colour within the figures was rendered in oil pastel, with numerous reminders NOT to use the pastel outside of the shapes or for the background.
Then came my surprise. I hauled out several plastic spray bottles of liquid watercolour paint mixed with water. This was how they were going to get their washes of background colour. How fun!
If I were to do this again, I would tape the paper onto boards before saturating with the wet paint. I would also increase the pigment in the spray bottles.
Fall 2013 / Parliament Oak Elementary School
Grade 6/7/8: Two Prints in One
Fall 2013 / Parliament Oak School
Grade 1/2: Puppets & Their Backgrounds
Fall 2013 / Parliament Oak School
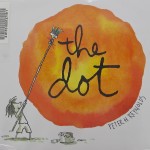
Imagination rules! I put one dot somewhere on each page, and the kids drew from there. Here’s what they came up with …
Fall 2013 / Parliament Oak School
Grade 3/4: Crafting With Toilet Paper Tubes and Stuff
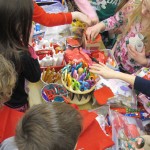
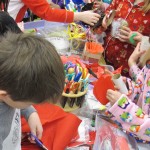
Winter: it’s snowy outside, and it’s fun times in the classroom. Haul out some toilet paper tubes, wacky scissors, glue, and a bunch of other stuff. They were all over it!
Fall 2013 / Parliament Oak School
Grade 6/7/8: Tape Resist Drawings
It was time for a one-class project, just before the Christmas break. Christmas – winter – pine trees?
I had a lot of narrow seam tape on my hands, so I put the two together. I gave each student a piece of cardstock, with directions to section it off side to side using the tape. Doing that, the resulting triangle would be their tree. Most of the tape lines would be diagonal, but I cautioned them to make the bottom line of the tree parallel with the bottom of the page.
Once they finished with the tape, I reviewed possible colour choices and materials. Warm vs. cool colours – the tree one and the background the opposite. I encouraged them to use a variety of materials: felt markers, pencil crayons, crayons, oil and chalk pastels, using more than one in some sections. They could also scratch through colour layers to get texture.
Then it was time to carefully remove the tape. In the process, some of the paper pulled up and we repaired that as best as possible. The resulting blurring of the white lines is okay, too.
Fall 2013 / Parliament Oak School
You must be logged in to post a comment.